
A coffee-to-water ratio guide is most useful when it gives you a repeatable starting point, not a rule that every brewer must follow.
The ratio compares the mass of dry coffee with the mass of brewing water, so a 1:16 recipe uses one gram of coffee for every 16 grams of water.
Once the relationship is clear, changing a batch size becomes simple arithmetic rather than guesswork.
For example, 20 grams of coffee at 1:16 calls for 320 grams of water.
That number describes what goes into the brewer, not necessarily the amount of finished coffee in your mug, because grounds retain some liquid and equipment may hold a little water.
What a coffee-to-water ratio describes
A brew ratio is written coffee first and water second.
In 1:16, the first number represents a part of coffee and the second represents 16 equal parts of water by weight; the same relationship can also be written 1/16 or expressed as 1 gram coffee to 16 grams water.
The ratio helps separate strength from other brewing variables.
If you use more coffee for the same water, the resulting drink will generally be more concentrated; if you use less coffee, it will generally be less concentrated.
Grind, contact time, temperature, and pouring still affect extraction and flavor, so a ratio alone cannot guarantee balance.
You may see different suggested starting points online because recipes reflect equipment, coffee, and personal taste.
Search results commonly describe ratios around 1:15, 1:16, 1:17, or 1:18 for filter coffee.
Treat that spread as a reason to choose one measured starting point and taste, rather than evidence that one number is universally correct.
How to calculate a batch by weight
Choose the amount of coffee or water you want to use, then multiply or divide by the ratio.
At 1:16, multiply coffee mass by 16 to find water mass, or divide water mass by 16 to find coffee mass.
| Coffee | Water at 1:16 | Useful context |
|---|---|---|
| 15 g | 240 g | A smaller single serving |
| 20 g | 320 g | A common home-brew batch size |
| 30 g | 480 g | A larger pour-over or small pot |
| 60 g | 960 g | A near-liter batch |
These are arithmetic examples, not brewer-specific instructions.
If your brewer has a minimum or maximum fill line, use it as a practical boundary and check the device guidance before scaling a recipe beyond its normal capacity.
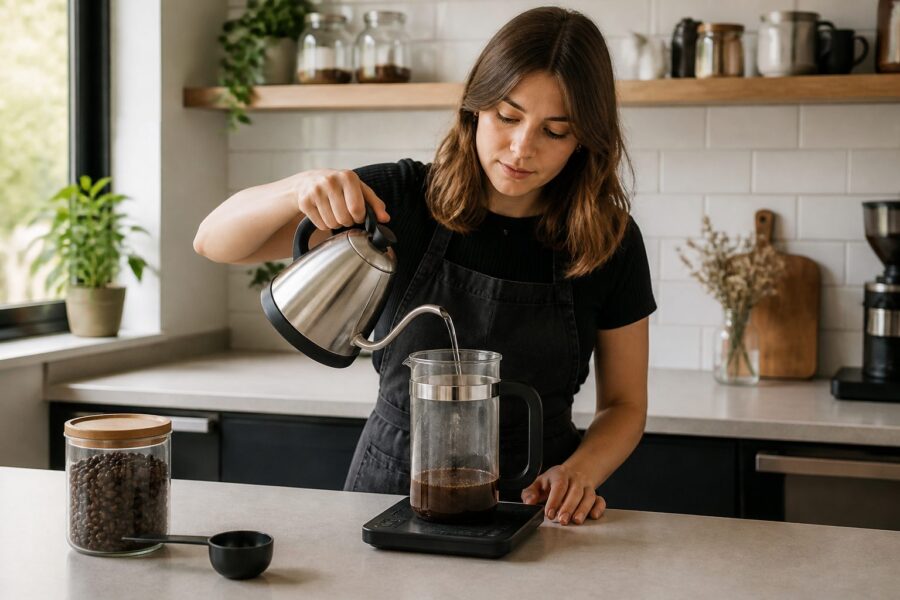
A scale makes these calculations easier because grams of water and grams of coffee can be measured directly.
Put the brewer and filter on the scale, tare it if appropriate, add the coffee, and pour water to the target mass; avoid confusing the scale reading with cup markings, which can use different definitions of a cup.
Measuring a 12-ounce or 16-ounce serving
A fluid ounce measures volume, while a gram measures mass, so a cup labeled 12 ounces does not automatically mean 12 ounces by weight of brewing water.
If you have a scale, measure the amount of water your recipe will use in grams and calculate coffee from that number; if you only have a mug, first decide how much liquid you want to drink.
For an illustrative 12-fluid-ounce serving, approximately 355 milliliters of water is a convenient conversion for planning.
At 1:16, dividing 355 by 16 gives about 22 grams of coffee.
The brewer may retain liquid, so the finished serving may be smaller than the water poured in.
For a 16-fluid-ounce serving, approximately 473 milliliters of water at the same ratio calls for about 30 grams of coffee.
These conversions use the practical approximation that one milliliter of water is close to one gram; they are starting calculations, not a promise of an exact beverage volume.
If using tablespoons or scoops, recognize that volume measurements vary with grind, bean shape, roast, and how firmly the scoop is filled.
A scoop can help you repeat your own routine, but it cannot reproduce a gram-based ratio as reliably as a scale.
Adjusting the ratio to taste
When the cup tastes too weak but otherwise clean, use a little more coffee with the same water, or use a little less water with the same coffee.
Change one side of the ratio at a time and write down the amount, so you can tell whether the next cup moved in the direction you wanted.
If the cup tastes strong but also harsh, adding more grounds may make the concentration heavier without solving the flavor problem.
Keep the ratio steady and inspect grind size, brew duration, and whether the brewer is clean; these variables can affect extraction independently of how much coffee is present.
A practical tasting note can be brief: record coffee mass, water mass, grinder setting or grind description, and one impression such as thin, balanced, or drying.
You do not need laboratory precision to learn from the comparison; consistency between attempts is more helpful than changing several settings at once.
Why brewing methods use different recipes
A pour-over, drip machine, French press, and cold brew setup expose coffee to water in different ways.
Flow, agitation, filter material, and contact time differ, and those differences can lead a brewer to prefer another starting ratio even when the underlying arithmetic is unchanged.
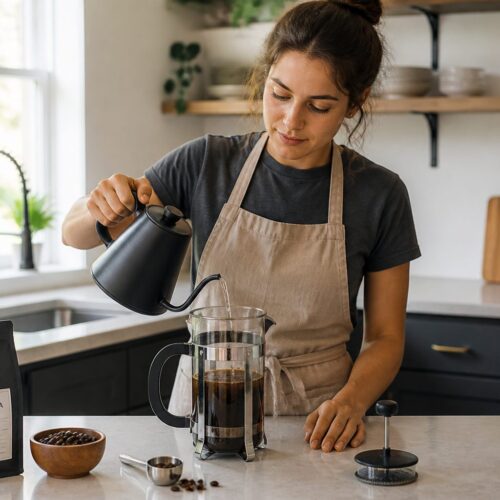
For a steeped method such as French press, coffee remains in contact with water before plunging and serving.
For pour-over, water passes through the bed and filter; a recipe also depends on pouring pattern and drawdown.
The same ratio can produce different cups across these setups, so borrow a starting point cautiously.
Espresso ratios are commonly discussed as dry coffee dose compared with liquid espresso yield, rather than coffee compared with all the brewing water entering the machine.
That is a different convention from the filter-coffee calculation in this guide, and it is better to keep the two meanings distinct.
Common ratio mistakes
- Mixing volume ounces with weight ounces without checking which one a recipe means.
- Treating a scoop as a fixed weight even when grind and filling method change.
- Changing ratio, grind, and brewing time in the same attempt, which makes the result hard to diagnose.
- Assuming the brew ratio determines flavor by itself, even though water, coffee freshness, equipment, and extraction matter too.
- Expecting the finished drink to equal the water poured in, despite liquid retained by the grounds and brewer.
Another common source of confusion is the word cup.
A recipe may mean a household mug, a measuring cup, or a brewer’s marked serving.
Use the actual water amount when precision matters, then calculate from that amount instead of assuming every cup is the same size.
A repeatable way to begin
Pick a middle-of-the-road filter ratio such as 1:16 for a first trial, measure both ingredients by weight, and keep the grind and brewing routine steady.
If the cup is too light, move slightly toward more coffee; if it is too concentrated for your preference, move slightly toward less.
The best ratio for your everyday method is the one that gives you a cup you enjoy and that you can make again.
A measured starting recipe makes adjustments understandable: you can change one quantity, taste the result, and keep the version that suits your beans and routine.
There is no single perfect ratio for every coffee and brewer. A ratio around 1:16 is a practical filter-coffee starting point, then adjust the coffee or water slightly to suit your taste.
If you mean 12 fluid ounces of water, about 355 grams, a 1:16 starting ratio uses roughly 22 grams of coffee. A brewer retains some liquid, so the finished cup may be smaller.
Scoop sizes and the weight of grounds vary, so there is no dependable universal scoop count. For about 473 grams of water at 1:16, use around 30 grams of coffee, or weigh your usual scoop once to estimate it.
Weigh coffee and water in grams, then compare their masses. At 1:16, multiply the coffee mass by 16 to calculate water, or divide water mass by 16 to calculate coffee.
Want the numbers worked out for you? Try the Coffee Brewing Ratio Calculator to get coffee and water amounts for your brewing method.