
A home coffee station setup does not need a dedicated counter or a collection of specialty gear.
A stable place for the brewer, its everyday tools, and a clear cleanup routine can make a small coffee setup easier to use.
Plan around the coffee you actually make.
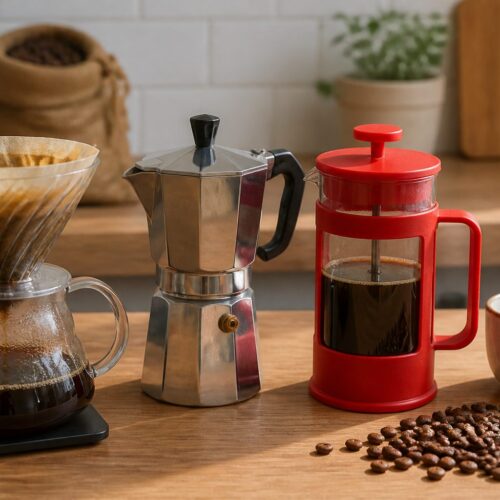
A drip brewer, pour-over, French press, and espresso setup call for different tools, so choosing a routine first prevents the station from filling with equipment that rarely leaves the shelf.
Start with space, utilities, and daily habits
Look for a surface that is level, stable, and large enough for the brewer to sit safely during use.
Leave room to fill, open, assemble, and clean the equipment without balancing it near an edge.
If the brewer or kettle needs electricity, check the outlet location and the appliance instructions.
Keep cords away from water, hot surfaces, and areas where people might snag them.
Being near a sink can simplify filling and rinsing, but it is not required if you can carry water safely.
A small water pitcher may help when the station is farther from the sink, provided it is kept clean.
Notice the surrounding traffic.
A station placed in the main food-preparation area can be inconvenient during cooking, while a tucked-away corner may be awkward if the brewer needs more clearance.
Think about when and how often you make coffee.
If you brew once each morning, keeping a few essentials in reach may be enough; if several people use the setup, storage and refill routines deserve more attention.
Choose equipment for the brewing method
The brewer is the anchor of the setup.
Pick the one you already use or plan to use regularly, then arrange the items needed for that method rather than starting with a shopping list.
A pour-over routine may need a dripper, filters, a kettle, a cup or carafe, and a way to measure coffee and water.
A French press needs its carafe and plunger, while a drip machine may need only filters, a carafe, and space to access its reservoir.
An espresso arrangement has different needs, such as room for the machine and grinder, plus space for the steps your model requires.
Check the appliance manual for clearance, power, water, and cleaning requirements before settling on a location.
A scale can help repeat a recipe if you use measurements by weight, but it is not essential for every routine.
A grinder is useful if you prefer whole beans, while pre-ground coffee may suit a simpler setup.
Keep optional items optional.
Frothing tools, syrups, extra brewers, and decorative accessories only belong on the work surface if they support a routine you actually use.
| Brewing routine | Useful core items | Space to remember |
|---|---|---|
| Pour-over | Dripper, filter, kettle, cup or carafe | Room to pour and set down the kettle |
| French press | Press, coffee, water, serving vessel | Stable place to plunge and pour |
| Drip machine | Machine, filter if needed, carafe | Access to lid, reservoir, and removable parts |
| Espresso | Machine and the tools specified for it | Clearance, safe power, and room for cleanup |
Arrange the station in the order you work
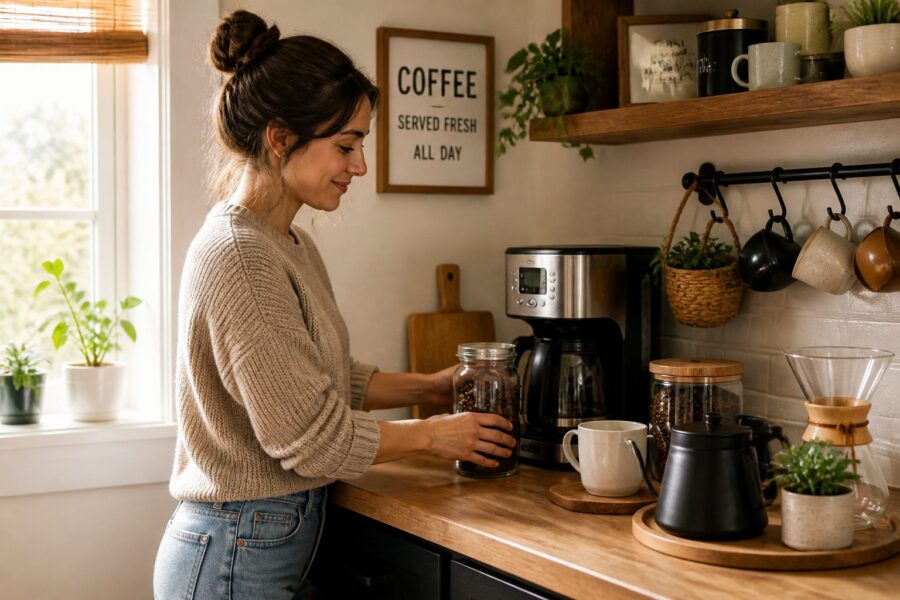
Place items in the sequence you use them: coffee storage, grinding if needed, brewing, serving, then cleanup.
A natural order reduces reaching across hot water and makes it easier to return tools after brewing.
For a compact setup, a tray can group small items such as filters, a scoop, and a spoon.
It can also mark the station’s footprint, but it should not make the brewer unstable or block ventilation.
Use drawers or shelves for tools you do not need every day.
Store cups and filters where they are easy to reach without crowding the brewing surface.
Keep a clear patch for preparation rather than placing every accessory directly beside the machine.
Coffee grounds and water are easier to manage when there is room to set things down.
If more than one person uses the station, put shared supplies in predictable places and leave the instructions for specialized equipment accessible.
This reduces guesswork when someone else refills or cleans the machine.
Store coffee and supplies thoughtfully
Store coffee according to its packaging and the roaster’s guidance.
A closed container kept away from heat, moisture, and direct light is a practical choice for everyday storage, but the container should be clean and dry.
Keep filters dry and protected from splashes.
If a brewer uses a reusable filter, store it only after cleaning and drying it as its manufacturer recommends.
Sugar, cocoa, and other additions should be stored in closed containers if they are part of your routine.
Keep them separate from the coffee maker’s water reservoir and away from sources of heat or moisture.
Place cleaning cloths and brushes where you can find them without keeping them in contact with clean cups or coffee.
Store any cleaning products separately and follow their labels and the appliance manual.
A station can look tidy without transferring every ingredient to a decorative jar.
Retaining package labels may help you identify the coffee and follow its storage directions.
Make a small station work
In a small kitchen, use vertical storage only when shelves are safely mounted and items can be reached without leaning over hot equipment.
A wall shelf or cabinet can hold cups and filters while keeping the counter available for brewing.
A rolling cart can work if it is level, stable, and suitable for the appliance’s weight and heat.
Lock its wheels during use if it has locks, and avoid moving it while hot water or coffee is on top.
A cabinet or pantry shelf can store less-used equipment, but frequently used items should not require awkward lifting.
The station should make the routine simpler rather than add more steps.
Measure the actual work surface, including the space needed to open lids and remove reservoirs.
Dimensions listed for an appliance do not always include the room needed to fill, clean, or safely use it.
Start with one brewer and a modest set of accessories.
If a real need appears later, add one item at a time and decide where it will live before it reaches the counter.
Keep the station clean and safe
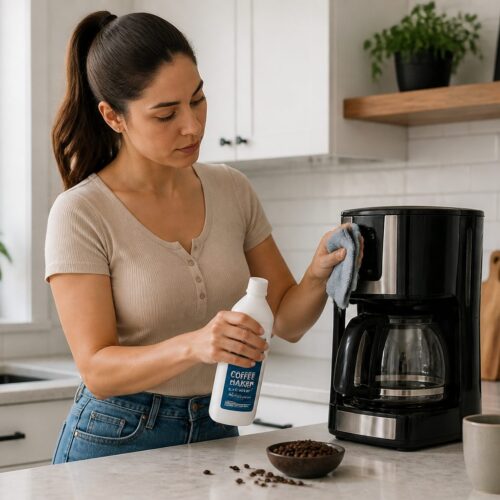
Wipe spills promptly and follow each appliance’s cleaning schedule.
Coffee residue, standing water, and loose grounds are easier to address when they do not accumulate around the machine.
Unplug appliances before cleaning when their manuals instruct you to do so, and never immerse a base or cord unless the manufacturer explicitly permits it.
Let hot equipment cool before handling removable parts.
Keep the brewer away from the edge of the counter and position cords so they cannot catch on clothing or be pulled by a child or pet.
Do not place the station where steam or hot liquids can reach delicate surfaces without protection.
If the station includes milk, refrigerate it promptly and handle it according to its packaging.
Do not store milk in a coffee maker reservoir or leave it in a warm area.
Review the setup after using it for several days.
Move only what causes friction, such as a tool kept too far away or an accessory that takes up space without being used.
A practical setup checklist
- Choose a stable surface with safe access to power and water as needed.
- Select equipment for the brewing method already in your routine.
- Leave room to fill, operate, serve, and clean the brewer.
- Arrange tools in the order you use them and store extras elsewhere.
- Protect coffee and filters from moisture, heat, and mess.
- Keep cords, hot equipment, and cleaning supplies safely positioned.
The best station is the one that fits the space and routine you have, not a staged display copied from someone else’s kitchen.
A small, organized surface can be fully useful when it supports brewing and cleanup without getting in the way.
Questions readers ask
Choose a stable spot, identify the brewer you use most, place its needed tools in order of use, and leave room for water, cleanup, and safe appliance operation.
Include only the equipment your routine needs, such as a brewer, filters, cups, and a grinder or kettle when your method calls for one.
Group the everyday tools near the brewer, keep cleaning items and supplies accessible, and store less-used equipment elsewhere so the work surface stays usable.