
Using a coffee scale for brewing makes it easier to repeat the amount of coffee and water in a recipe.
The scale does not make coffee taste good on its own, but it replaces estimates with measurements you can reproduce when a cup turns out the way you like.
A scale with a timer can help you track a pour or extraction, though a separate timer works just as well.
The useful habit is consistency: weigh the same ingredients, start timing at the same point, and change one variable when you want to adjust a brew.
What a scale measures in a coffee routine
For filter coffee, the most common use is weighing dry coffee and the brewing water.
Weight is often more repeatable than spoonfuls because bean size, grind, and how a scoop is filled can change the volume it holds.
Some scales show grams and include a timer; others show only weight or use different units.
Read the scale’s instructions to learn its capacity, accuracy, button functions, and whether water resistance is limited.
A regular kitchen scale can be useful if its platform fits your brewer or carafe and its capacity covers the load.
A small coffee scale may fit more easily under a dripper, but no specialized feature is required to measure a basic recipe.
Weigh coffee before brewing
- Place a dry dosing cup or brewing vessel on the scale and turn the scale on, following its instructions.
- Use the tare function to reset the display to zero with the empty vessel on it.
- Add whole beans or ground coffee until the display reaches your recipe’s dose.
- If you grind the beans, transfer them carefully and avoid losing grounds between the cup and brewer.
Weighing beans before grinding is convenient because it avoids leaving grounds in a dosing cup, but weighing ground coffee works too.
Pick one approach and repeat it consistently so a small amount left behind does not change the dose from brew to brew.
If the display moves while the grinder or brewer vibrates, set the scale on a stable surface and keep it away from water.
Do not assume every model can sit beneath a hot kettle or tolerate splashes.
Measure water for pour-over
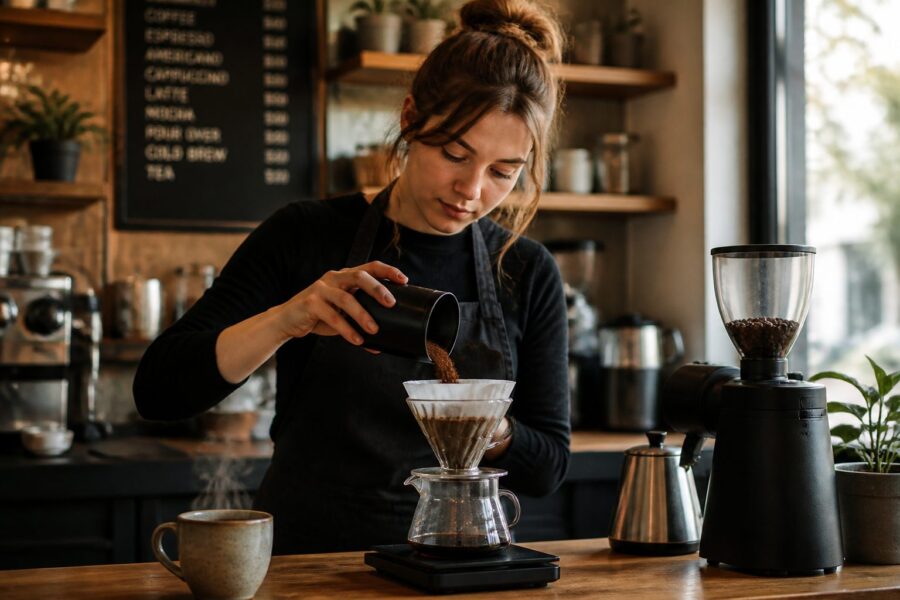
For a pour-over, place the dripper and its carafe or mug on the scale if the platform can support them safely.
Tare after setting the brewer in place, then add coffee and tare again if you want the display to track only the water poured.
Another approach is to weigh the water in a kettle before pouring.
This can be simpler if the dripper is unstable or too tall for the scale, although water left in the kettle means the amount delivered to the grounds may be a little different.
A ratio links the dry coffee dose to the water weight.
At 1:16, for instance, 20 grams of coffee corresponds to 320 grams of brewing water; that is an example for illustrating the math, not a claim that one ratio suits every bean or taste.
When you pour directly onto a scale, the display shows the water entering the brewer, not the amount of finished coffee in the mug.
Grounds retain water, and some liquid may remain in the filter or brewer.
For a filter recipe, you may decide to measure the water before brewing, during the pour, or both.
Pre-weighing all of the water is simple, while tracking the pour on the scale helps you stop at a chosen amount; either way, use the same approach when comparing results.
A cup or carafe on the platform adds weight, which is why tare matters.
If you remove the vessel and put it back, tare again only if you want the new reading to start at zero; do not accidentally erase the weight you intended to measure.
Scales can differ in how quickly they respond to changes.
When a display lags behind a pour, pause briefly before stopping so the reading can settle, and pour slowly enough to avoid overshooting your target.
Use the timer as a reference, not a score
A timer can record how long the brew takes, which helps you notice changes in grind, pouring, or equipment.
Decide on a consistent start point, such as the first water reaching the grounds, so comparisons make sense.
Total time alone does not tell you whether coffee is good or bad.
A different filter, dose, grind, or pouring pattern can change the time, and the taste is still the reason to make an adjustment.
For espresso, a scale can measure the dose of ground coffee and the mass of liquid in the cup.
Follow the machine’s instructions and use equipment that fits safely on its drip tray; keep the scale away from spills and hot surfaces unless its manual allows that use.
Common scale mistakes
- Forgetting to tare the empty vessel, which adds its weight to the reading.
- Taring at a different point each time and then comparing unlike measurements.
- Pouring water faster than the display updates and stopping above the intended amount.
- Moving the scale while the reading is still changing.
- Treating a timer target as a guarantee of flavor instead of checking the cup.
- Wiping a scale with excess water or using it near a hot kettle without checking its care instructions.
If the scale reading seems unstable, remove the load and check that the surface is level and the battery is working.
Consult its manual for calibration or reset procedures rather than assuming every scale uses the same button sequence.
Build a repeatable recipe
Record only the details that help you reproduce the cup: coffee dose, water weight, grinder setting, brewing method, and approximate brew time.
There is no need to document every motion if your recipe already tastes consistent.
If a brew seems too strong, weak, sour, or bitter, change one factor and keep the others steady.
Adjusting grind, dose, water, and timing all at once makes it difficult to learn which change affected the result.
| Scale habit | What it helps you repeat |
|---|---|
| Tare the empty cup | Ingredient weight without container weight |
| Weigh the coffee dose | The amount of dry grounds in each brew |
| Track water weight | The recipe’s coffee-to-water relationship |
| Start the timer consistently | A comparable duration between attempts |
| Clean and store as directed | Reliable handling and readings |
A scale is most useful when it removes uncertainty from a step you want to repeat.
If scoops already give you a result you enjoy, you do not need to replace them; a scale simply makes precise adjustments easier to see.
Common questions about coffee scales
Place an empty vessel on the scale and tare it, then weigh the coffee and water for your recipe. Use the timer if it helps you compare brews, and follow the scale’s care instructions.
No. A consistent scoop can work, but a scale measures coffee and water more repeatably and makes recipe adjustments easier to compare.
A timer can help you track a brew’s duration or pouring sequence. It is optional, and elapsed time should be interpreted alongside the recipe and taste rather than used as a quality score.